Pages

Wednesday, January 13, 2016

Game of Thrones Crochet Plushies Pattern Review and Tips


When we found out that some very dear friends of ours were having a baby, we were overjoyed. I knew that they both loved Game of Thrones (in fact, the dad commissioned the Petyr Baelish costume I made for Halloween last year!), and wanted to do something special for their baby boy.

But how to make a Game of Thrones themed gift that was kid-friendly?

Plushies!

I found this pattern online and thought it was perfect. They're animals representing each of the four main houses in Game of Thrones, but still very cuddleable! I even came up with adorable names for each of them (pattern link included):

Snuffy Stark (pattern for $3.75)
Buckley Baratheon (pattern for $3.25)
Lionel Lannister (pattern for $4.00)
Toothy Targaryen (pattern for $4.00)

You can also buy all four patterns for $10, which I think is a great deal.

As I worked on each one, I tweaked different aspects to customize them a little. In general, I wanted them to look a lot less serious, and much more happy. This is easily accomplished by leaving off the eyebrows.

 
 See how friendly he looks now?

Snuffy Stark (the direwolf sigil of the Stark family) was pretty much done exactly to the pattern's instructions. My main modifications were leaving off his eyebrows and turning up his mouth into a smile.


Toothy Targaryen was also done very close to the pattern's instructions. The only difference here is that I didn't have enough room on his belly for three stripes, so I settled for two. I liked him better without the grim mouth, so I left that out, as well as not adding the eyebrows.


Buckley Baratheon had a few major changes. The first was to his ears. If you look at the original design, they're tube-shaped. I wanted mine to look more like actual deer ears, so I did research into other reindeer patterns to see how they created their ears. I decided to use the instructions from Rudy the Reindeer by Tales of Twisted Fibers, and I really liked the way they came out. 

Rudy, the reindeerRudy, the reindeer

I also used a combination of their instructions and the original Game of Thrones pattern to create the tail, which I wanted to have more of a point at the end. I attached the tail to the body in a circle, rather than making the end flat and sewing it in a straight line. I also free-handed a white section to go underneath the tail, for an extra detail.


Lionel Lannister, my own personal favorite (he's so soft and cuddly!), is the one who got the biggest overhaul. I covered the top third of his nose with a matching brown, made the nose bigger, left off the mouth, ears, eyebrows, and white eye circles. I personally thought the mane looked more like a hood than a lion's mane, I did research into other patterns until I found a mane and tail from Little lion amigurumi by beacrafter that I really liked.

Little lion amigurumi crochet pattern - Maz Kwok's Designs:   
Aren't they adorable?! Look at that fluffy tail!

She uses a particular technique called a 'loop stitch' that creates that long half circle attached to a stabilizing stitch. The youtube video demonstrating it can be found here. I used this to created both the tail and the mane. I used beacrafter's instructions for the tail, but freehanded my own version for the mane. I basically created a rectangle that went around the top of the head, sewing it on to the head piece before attaching the head to the body. I don't remember the exact measurements, but it was about six or eight stitches wide, and then I just kept measuring it against the head until it was as long as it needed to be. I actually thought he looked adorable without ears, but feel free to add your own if you like!

That's all for now! I do recommend this pattern, especially for any Game of Thrones fans in your life, or just for yourself!

Lionel looks a little different here for some reason...

The finished products!


Monday, September 21, 2015

Agent Carter's Gold Dress


Hello all! I first have to start this post out with a plug for Agent Carter. It's an amazing show, which combines the costumes and style of a 1940's period piece with the fantastic humor and plot of a typical hero/ secret agent show, with a smart, strong, and sassy female lead, complete with a British butler as a sidekick!


Peggy Carter has the distinction of being Captain America's love interest, as well as the original founder of SHIELD. The show follows her adventures post WWII, where she has to help Howard Stark recover his stolen inventions, with help from Stark's butler, Edwin Jarvis. Season 1 only has eight episodes, and you can watch the back half of them on Hulu here. It's been renewed for Season 2, which will air sometime later this year.

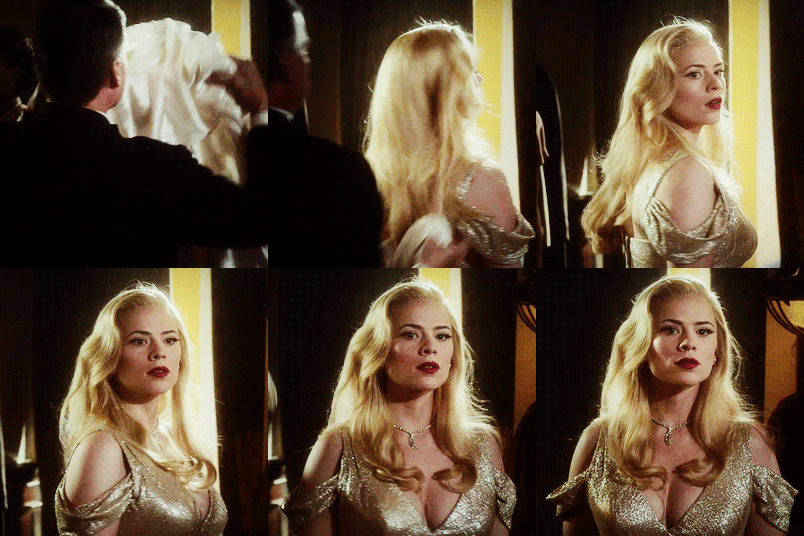
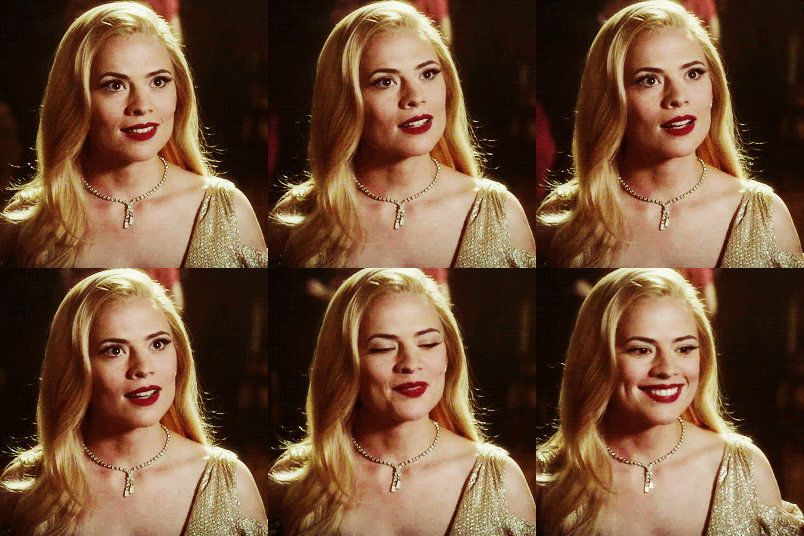
In the pilot episode, Agent Peggy Carter goes undercover at a nightclub and wears a stunning gold gown for distraction purposes (plus a blonde wig, for disguising purposes). I saw it and immediately wanted to make it, so I gave myself a deadline - make this fabulous gown for our upcoming anniversary!


Reference Photos:

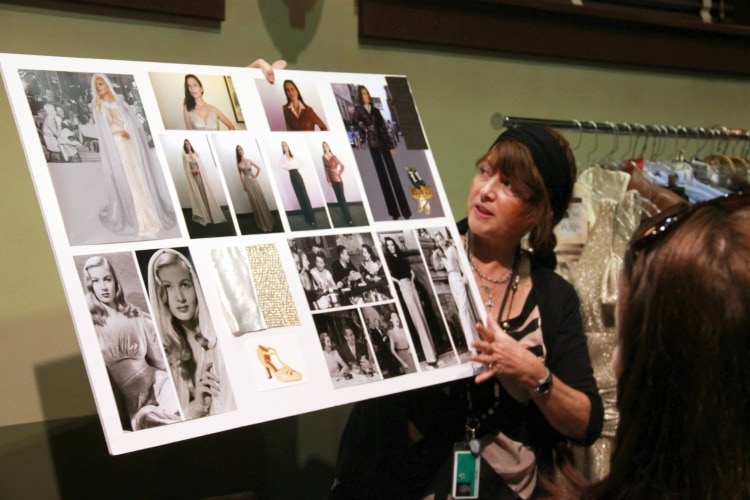
The designer, Giovanna "Gigi" Ottobre-Melton, created this dress to have a very Veronica Lake feel to it. From her interview on the ABC Agent Carter website, she says "For her undercover work, the design of evening dresses from the 1930s and 1940s are mysterious and alluring, yet not overly revealing. The slim cut dresses glide over the body. When a woman walks around in one of these dresses, the fabric moves around her with a graceful fluidity. In her undercover mission in the first episode, the script called for a Veronica Lake look. We got to make Peggy into the classic femme fatale, with the blonde waves and gold matelassé fabric. Her cape was made with off white silk Panne velvet."

Photos were hard to come by, simply because she wears the dress primarily in a dark office, and later in her dark apartment. I lightened up several of the screenshots from here, and also have a few display photos (which is why there's some discrepancy between the colors).

Front:


 The fabric looks like a metallic gold lamé, and the dress has two dropped sleeves, and some serious support as part of the bodice. There is also an attached sash that creates the illusion of one piece, but is split in the back, with the left side coming around, being tacked in the center, then allowed to drop to the full length of the dress. The right hand piece of the sash likely only comes around to several inches past the center.

Back:


Her sleeves are slightly gathered at the top, and the ruched sash looks to be spread out to about six inches wide, then separated by a lapped zipper. The back itself comes up to just below her shoulder blades.

You can see the front and inside of the dress briefly in the video Marvel's Agent Carter - Dress For Success, Part 1, where the designer talks about the undercover dress after the 1:28 mark.

 Peggy Carter's gold dress, a detailed look from inside the costume department.


The dress and styling, as mentioned, was inspired by Veronica Lake, who was known for playing several femme fatale roles in the 1940's.

Veronica Lake in a gold dress 
Agent Carter Gold Dress for Peggy 
Gigi Melton holds idea board
Gigi Ottobre-Melton shows her inspiration board on a set tour
Pattern:

After looking at several different options, I found Vogue 8470, a pattern that matched nearly exactly with the shape of the dress.


Option B has the ideal shape, minus the attached sash and the detached sleeves, all very easy modifications to make.

Dress:

I looked at both a metallic knit and a gold lame for the fabric, then decided to go with the gold crepe lame fabric from Joann's that I thought matched really well.


I also chose a pretty gold lining to go with it and to add some weight to the dress.

While I followed the instructions for the pattern, I honestly would have made the bodice the same way I made my Cinderella one. It avoids adding the armhole facing, has clean and finished edges, and (I think) is much more intuitive. You don't need to make the "midriff section" (pattern piece #5), since it's the modesty panel that goes in front unless you want to.

After hosting my computer hostage in my craft room for a week or so to incentivize me to keep sewing, I finished the base dress just 30 minutes before we left for our anniversary date. I had Jim take a few pictures so I could have proof that I sort of mostly finished it.


I was also super excited about wearing her screen-accurate lip color, Besame's 1946 - Red Velvet Lipstick. I still need to add the dropped sleeves and the sash, so I'll update here when I finally finish those. Thanks for reading, and feel free to ask questions in the comments!

Monday, June 1, 2015

Cinderella Photoshoot

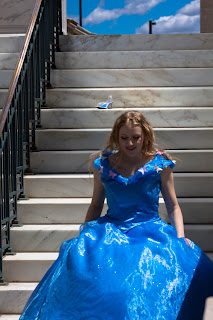
As promised, here are pictures from my photoshoot with my live action Cinderella dress with the amazing Austin Arreguin. You can view them in Deviantart here, if you like. Enjoy!