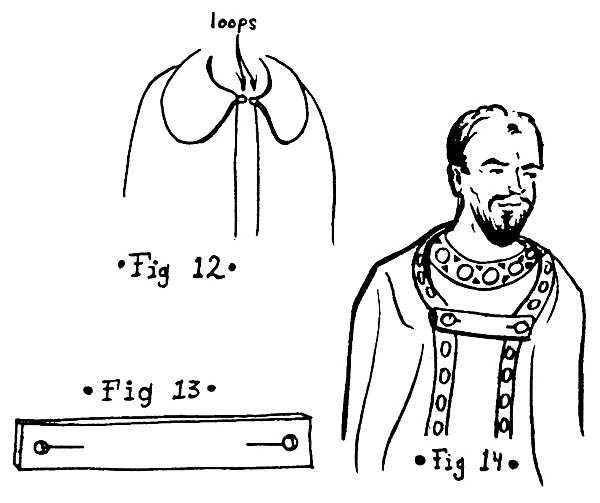
So I realized that I never shared what pattern I was using. I picked version C of Simplicity's #5794, opting for a round hood (versus a pointy one) but no capelet thingie (technical terms).

So, the cloak you saw in the previous post was Jim's. (I made his first so that I could make the learner's mistakes on his, not mine. But that didn't work out too well. More on that later.) While starting on mine, I had a brilliant thought. Pockets! Hobbits don't have purses, and I didn't want to go for a clunky bag, so I measured a square of fabric with my giant cell phone and went from there. I used some extra fleece so it would match, sewed the top down a bit, then pinned the rest to the lining before I sewed both lining and shell together.
One pocket...

Two pockets!

Here's what the finished pocket looks like (and what the fabric looks like under real light).

After the pockets were done, I lined the hood, then started preparing to attach the lining to the shell.


I sewed both sides together, inside out, then trimmed the edges, and pulled it right side through a hole I left in the lining.


So, while trimming the edges with my awesome rotary blade, I accidentally cut two holes in the outer shell. At first I tried using scotch tape to put them back, which didn't look awful, but the cuts were still visible. Then I went online and found out about mending tape, which sounded like it somehow magically healed cuts when ironed. So I bought some, took it home, and felt confident that this would make the results of my carelessness disappear.
Nope.
The scotch tape made the cuts fray like mad when I pulled it off. Hoping that the powers of the mending tape included fraying edges, I ironed it on, and looked at it from the other side.
Ick.
The cuts were still pretty frayed, the tape showed through, and it didn't mend the edges like I hoped it would. So, after feeling sorry for myself for a while, I moved the hem past the cut and prayed it wouldn't be all cattywompus. Success!
As you can see, it looks fine. So the lesson here is that if you make a mistake that you think might ruin your project, take some time away from it, and come at it from a different angle. It'll all turn out alright.
See?
You can't even tell where the cuts were!
(And look! Pockets!)

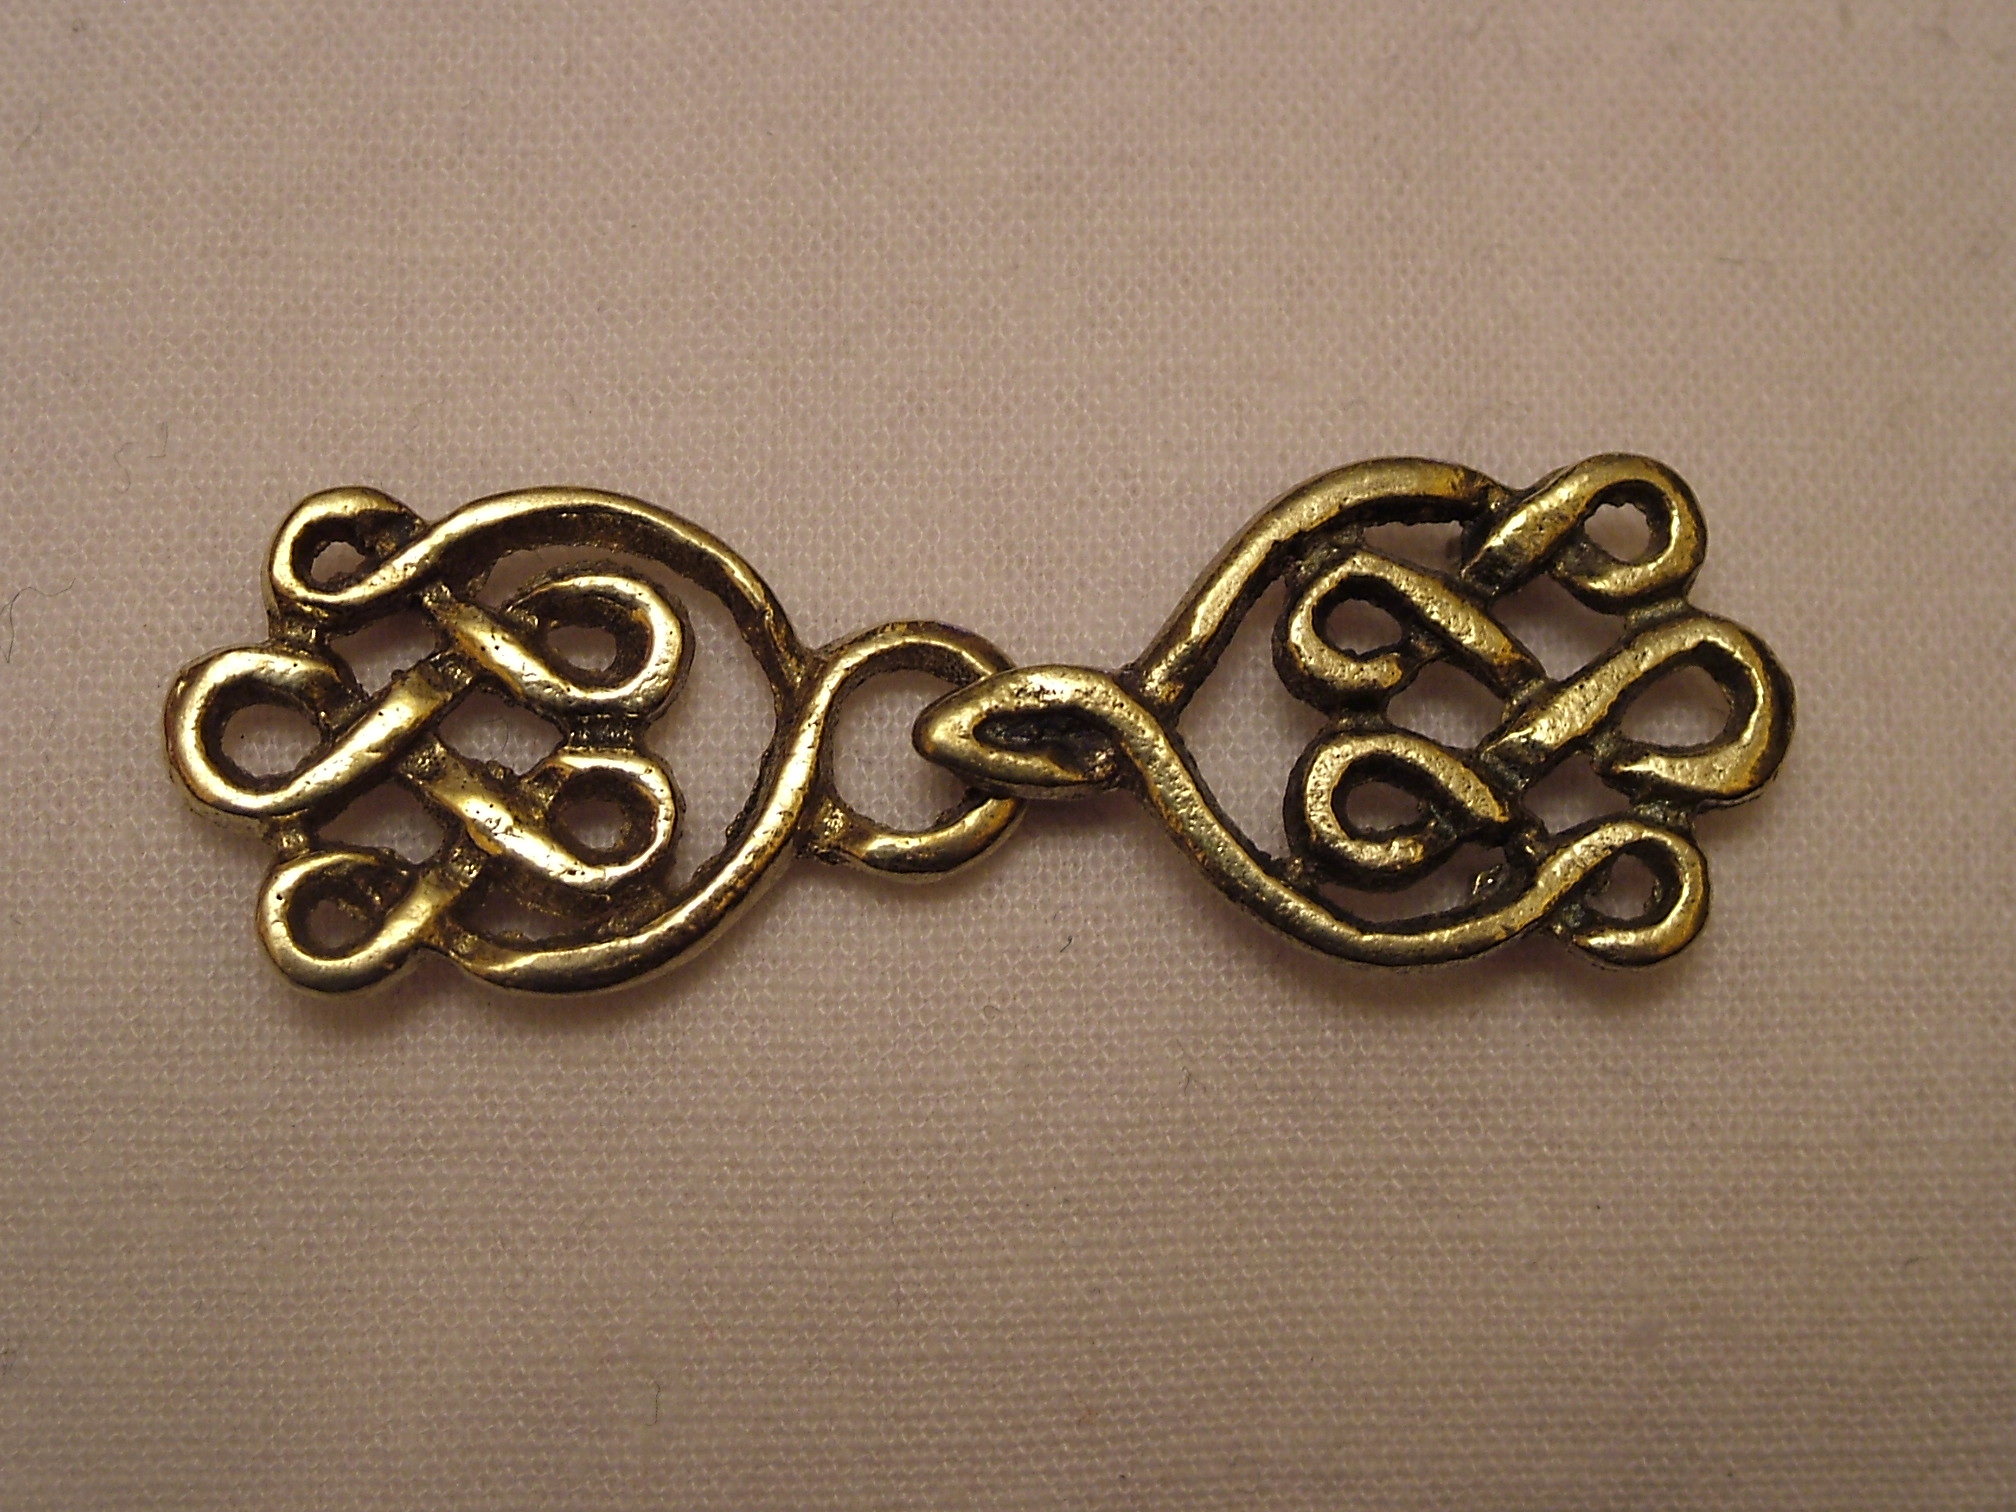
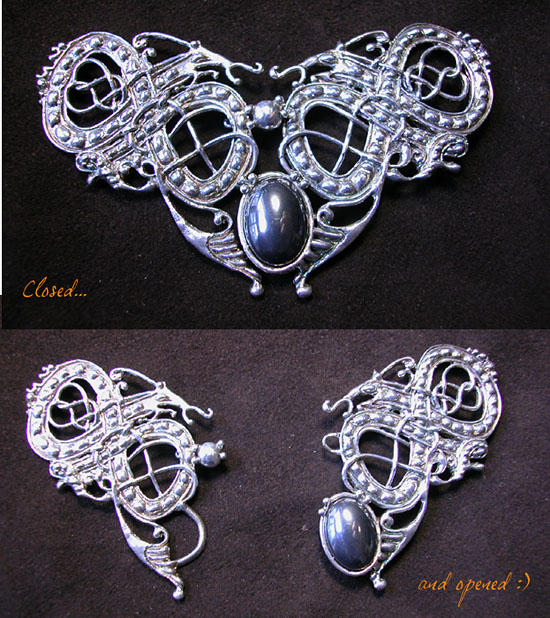
Once that was all over with, I sewed on the nice girly clasp I got at Jo-Anns, and voila! An awesome cloak all ready to go for the Hobbit premiere!

So, remember my closure debate for Jim's cloak? I bought some leather string, and liked the look of the curlicue. But how to make it stay? Well, I stuck it on the tape, and painstakingly pushing a needle straight through one way, then perpendicular.

I attached it to the cloak by sewing up through the gap in the circles on one side of the line, then sewing down on the other side.

Finished cloak number 2!

Now! Onto the actual hobbit costume! Stay tuned!