Pages

Showing posts with label cloaks. Show all posts

Sunday, August 12, 2012

Hobbit Costume!

Well, with the finishing of my cloaks, I decided to move on to my own Hobbit costume. I'm going as Elanor Gamgee (Sam's daughter), so I went for fairly rich looking fabric, since she's basically hobbit royalty (She went to become Arwen's handmaiden at 15, was named by Frodo, and inherited the Red Book of Westmarch (the book you see Bilbo and Frodo writing in at their desk and also the most beautiful prop book I have ever seen in my life)). She's a great character, and also has golden hair, a fairly rare trait among hobbits.

Pretty fabric!


Even the back side was pretty!


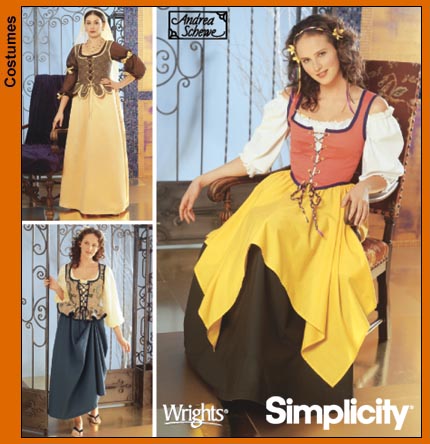
I found Simplicity pattern 5582 at Joann's and decided to use version C (the big picture on the right) for only the bodice and the normal looking skirt (I have no idea what that yellow looking disaster is).

So, first thing I worked on was the bodice. I knew it was the hardest and most complicated part, so I wanted to take my time.  So, after making marks on it and leaving it for a while, I realized that although I bought the pattern size 4-10, I am a size 12 in the strange world of pattern sizing. I had already marked it and couldn't really return it, so what's a girl with an occasional blonde moment to do?

Grade up!

Which basically meant tracing over the original pattern (size 10), then moving the line to the next size  (8) and tracing the size 10 line again, this time using the space between lines to move the size 10 up to a size 12.


Being the professional I am, I traced it with some wax paper and a dying Sharpie. Hey, whatever works, right?


Alright, I have my wax paper patterns, so I cut out my fabric pieces.


 Then it was time to add the interfacing, which is the stuff that goes between the outside and the lining.


So, see the V cut at the bottom of two pieces, that's to make a 'dart seam', so it's smaller around my waist than around the top. I couldn't figure out how to transfer the marks, so I added pins in a line and went for it.


 Not too bad, eh?


I did the same thing for the lining, minus adding the interfacing, then had to deal with bias tape for the first time. Bias tape is the silver line around the edges and the armholes, and helps everything look finished and pretty.


I used Extra Wide Double Fold, and researched several ways to apply it online. The best one I found was from a blog called Smashed Peas and Carrots (click to see it, she explains it much better than I can), and basically said to sew along the first fold, then fold the sides over, and sew along the edge. 


You can see the finished bias taped edge up in the left-hand corner, as I ready my hammer to start adding grommets.


Not going to lie, adding grommets scared me. I would have to cut holes in my beautiful bodice, and adjust the spacing from the original pattern, and pray that this wouldn't kill the hours of work I put into this thing. But hey! After some hesitant cutting, they turned out alright!


Well, I couldn't figure out why only half of the grommet spread out after banging on it forcefully with my hammer.


But then Jim pointed out that I'd probably have more luck hammering on a surface that wasn't a bouncy plastic work table. And I did!


I sewed a channel for my boning, which is a fancy word for plastic wrapped in thread wrapped in a ribbon casing. I've heard of other people using zip ties instead, and I'm sure that would work just as well.


After what felt like years, I finished my bodice. Onto the skirt!

I couldn't find a matching blue cotton fabric at Joann's, but my next trip to the Goodwill revealed a great matching bedsheet! For $4.00!


So I used some clever folding to maximize yardage, but kept wondering why the fabric kept sliding down the back of my table.


Apparently the kittens thought my fabric was some sort of new bedding/fort/toy.


After shooing the cats out, I cut out the pattern...


Attached the sections, pressed the seams...


Not pictured - my struggle to make a tie out of fabric using vague inclinations left over from 8th grade Home Ec while the epic sounds of Les Mis played in the background and finally ending with success.

Though I'll probably replace it with elastic later.

And here I am, with a finished bodice, a thrifted shirt, and a skirt that is not hemmed, but I was too excited to wait for that.


The Hobbit Costume with the Hobbit Cloak!
YES!!!


Les Mis was still playing in the background, and c'mon, how can anyone not be dramatic when Enjolras is belting out "Red and Black"?

Wednesday, July 11, 2012

Cloaks Part 3: Actually Done!

So I realized that I never shared what pattern I was using. I picked version C of Simplicity's #5794, opting for a round hood (versus a pointy one) but no capelet thingie (technical terms).


So, the cloak you saw in the previous post was Jim's. (I made his first so that I could make the learner's mistakes on his, not mine. But that didn't work out too well. More on that later.) While starting on mine, I had a brilliant thought. Pockets! Hobbits don't have purses, and I didn't want to go for a clunky bag, so I measured a square of fabric with my giant cell phone and went from there. I used some extra fleece so it would match, sewed the top down a bit, then pinned the rest to the lining before I sewed both lining and shell together.

One pocket...


Two pockets!


Here's what the finished pocket looks like (and what the fabric looks like under real light).


After the pockets were done, I lined the hood, then started preparing to attach the lining to the shell.


 I sewed both sides together, inside out, then trimmed the edges, and pulled it right side through a hole I left in the lining.


So, while trimming the edges with my awesome rotary blade, I accidentally cut two holes in the outer shell. At first I tried using scotch tape to put them back, which didn't look awful, but the cuts were still visible. Then I went online and found out about mending tape, which sounded like it somehow magically healed cuts when ironed. So I bought some, took it home, and felt confident that this would make the results of my carelessness disappear.

Nope.

The scotch tape made the cuts fray like mad when I pulled it off. Hoping that the powers of the mending tape included fraying edges, I ironed it on, and looked at it from the other side.
Ick.
The cuts were still pretty frayed, the tape showed through, and it didn't mend the edges like I hoped it would.  So, after feeling sorry for myself for a while, I moved the hem past the cut and prayed it wouldn't be all cattywompus. Success!
As you can see, it looks fine. So the lesson here is that if you make a mistake that you think might ruin your project, take some time away from it, and come at it from a different angle. It'll all turn out alright.

See?
You can't even tell where the cuts were!
(And look! Pockets!)


Once that was all over with, I sewed on the nice girly clasp I got at Jo-Anns, and voila! An awesome cloak all ready to go for the Hobbit premiere!


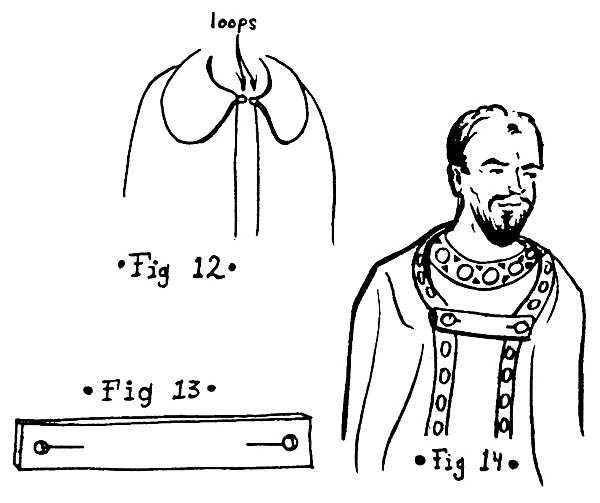
So, remember my closure debate for Jim's cloak? I bought some leather string, and liked the look of the curlicue. But how to make it stay? Well, I stuck it on the tape, and painstakingly pushing a needle straight through one way, then perpendicular.


I attached it to the cloak by sewing up through the gap in the circles on one side of the line, then sewing down on the other side.


Finished cloak number 2!


Now! Onto the actual hobbit costume! Stay tuned!

Tuesday, May 15, 2012

Cloaks Part 2: Finished! (sort of)

I finished my first cloak! Well, finished sewing anyway, but still!

So this is the outside of the cape, sewn together minus hood.


Speaking of the hood, here it minus the comfy lining.


Then, after lining the hood with fleece, cutting the fleece patterns, sewing them together, and pinning the lining to the cloak inside out, sewing everything and pulling it right side out through a hole in the lining, I learned how to slip stitch so I could hide said hole. Once all that was done, I had a finished cape!

(I'm ignoring the puckering on the edge and hoping I can iron it out. If not... I'll say that it's just well used.)

It's lined with fleece, since the Hobbit comes out December 14, which calls for very snowy and freezing weather.

It even has a lined hood!


My current dilemma lies with how to close it. I could:

A. Sew buttons to both sides and make a flat piece of fabric with two buttonholes to hold it together

B. Sew one button on the right side (since it's Jim's cape and men's garments button from the right side, extending from the days when men dressed themselves, and women had servants to button buttons, thus changing the point of view of the buttons. Just in case you wanted to know.), then sew a leather loop on the other that the button will fit into.
Like so:

Thing is, I'm not sure how I get the curly bit to stay. Sew straight through the side? 

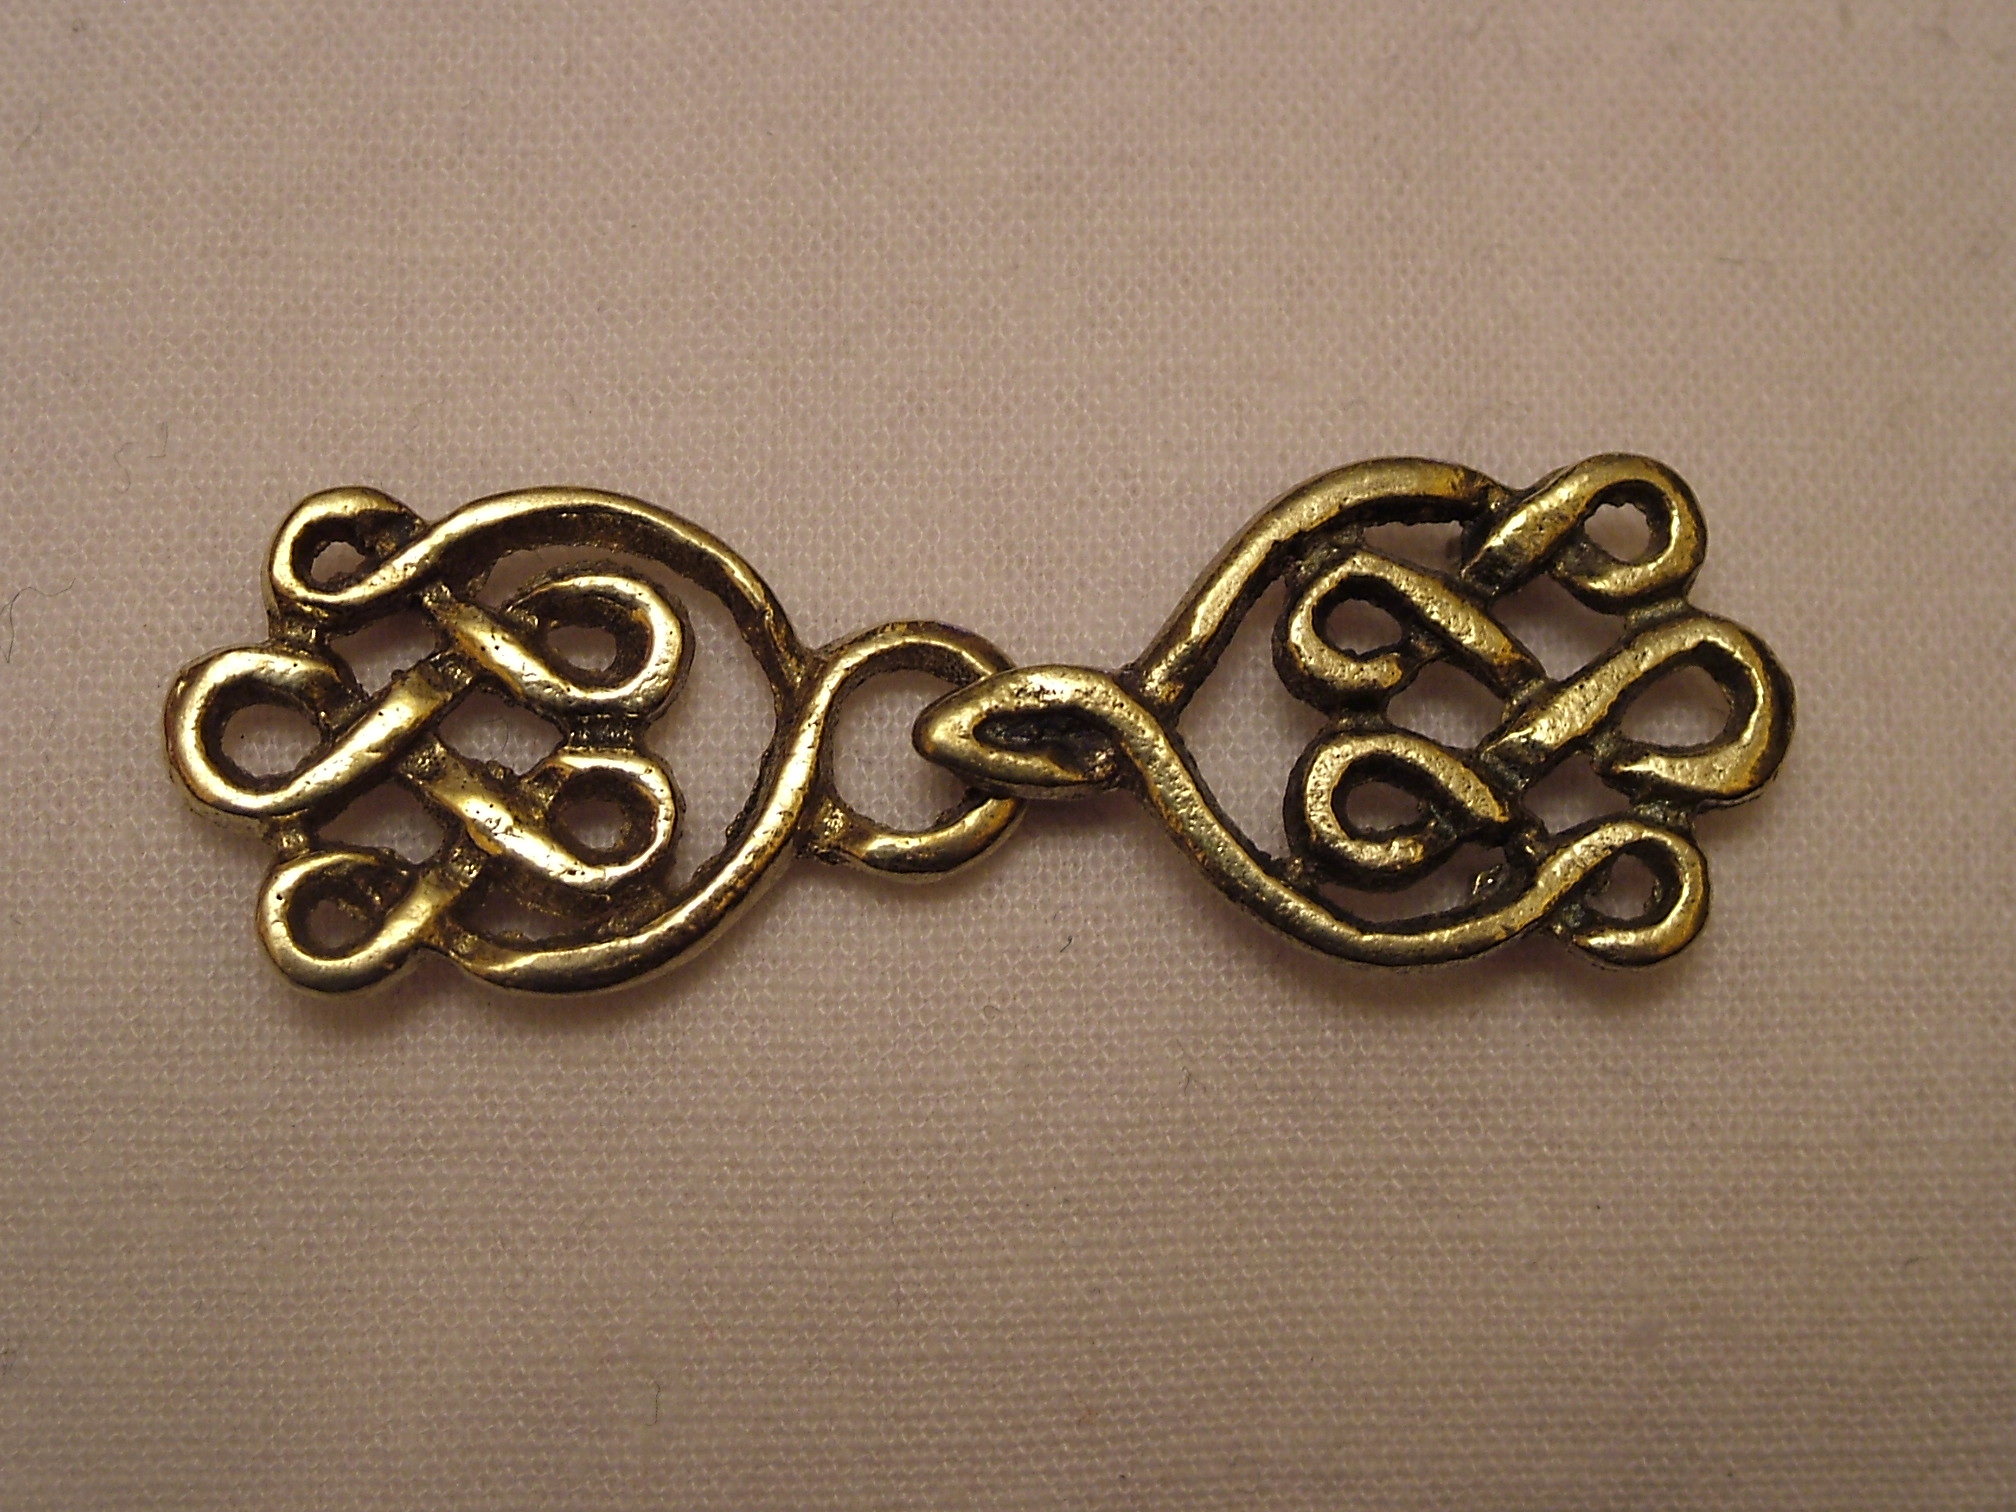
C. Buy a cloak clasp online. These range from simple:

to medium fancy

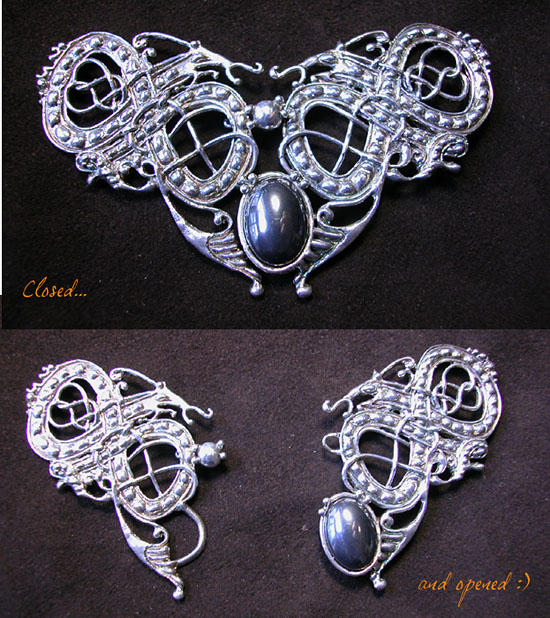
to very very fancy

(Link here)

D. I'm going to eventually get a elven leaf brooch for my own cloak, like the Fellowship had.

But if I want a pretty functional one, I need lots of money. So! Until I'm rich, my other options will have to do.

Still to do:
- Buy more lining so I can make my own cloak.
- Figure out button loop/ clasp/ closure thing.
- Work on my hobbit costume! More on that once the cloaks are done.
- Find a way to stop the fleece from shocking me every five seconds. Stupid dry air.

Thanks for tuning it!