Pages

Tuesday, January 19, 2016

Galentine's Day Infinity Scarves

Ah, that wonderful day in mid-February, full of love and joy and letting those closest to you know how much you care about them.

I am, of course, talking about Galentine's Day, celebrated on February 13th.

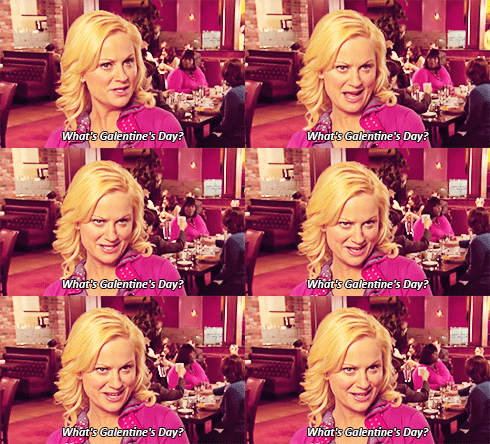
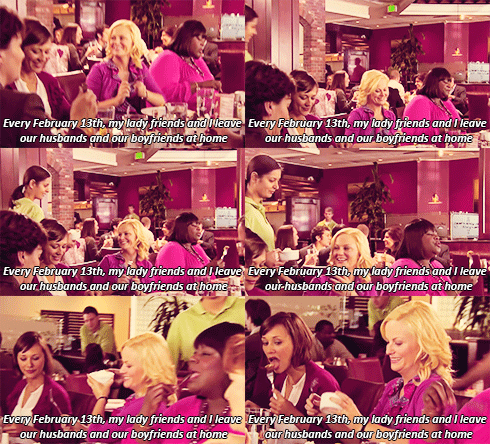
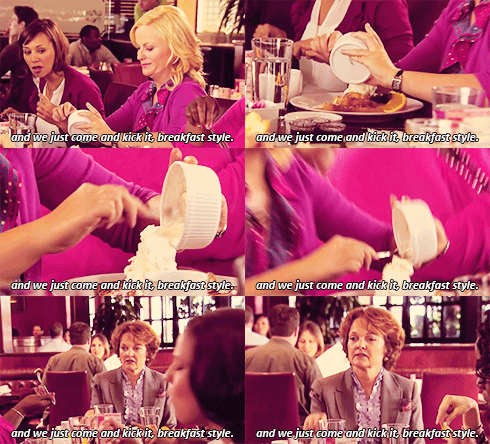
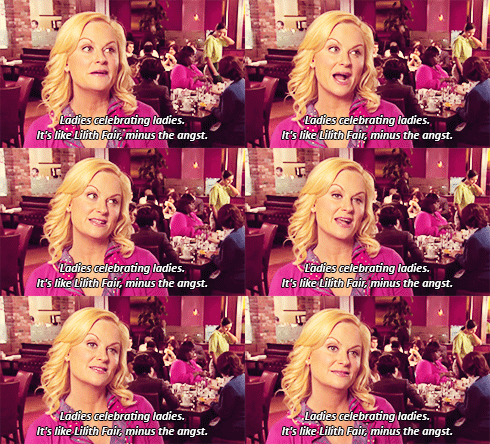
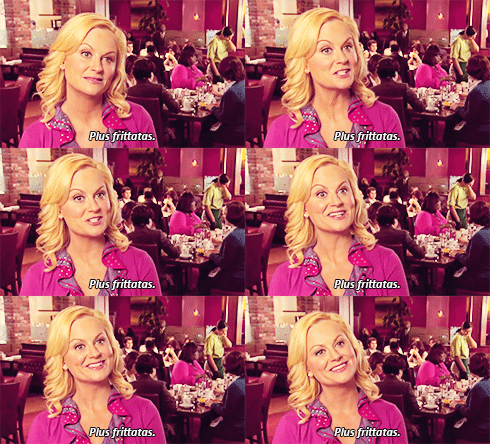
Galentine's Day was invented by the amazing Leslie Knope from Parks and Recreation (Season 2, Episode 16). I'll have her explain it.

Happy Galentine’s Day!Happy Galentine’s Day!

Galentine's Day is a great way to celebrate your close lady friends and let them know how much you love them! Traditions include brunch, handmade gifts, and hanging out together. And I agree with Leslie, it should definitely be a national holiday.

Sadly, my three sisters are all scattered across the west coast, and I'm out here in Colorado, so brunch is out of the picture. I can however, bust out some sweet crafts to let them know I'm thinking of them!

The first year, I sent them each a 'relaxing night in' kit. I included a book or movie I thought they'd enjoy, plus some hot cocoa mix, and some bath salts.

Last year, I decided to try and create something handmade for each of them. I came up with a 'heart on my sleeve' idea, but with infinity scarves! Infinity scarves are great projects because they're inexpensive, easy to make, and super adorable.

Super cute, right?

 Here's what you'll need:

1 yard of knit or jersey fabric in whatever pattern/color you like
1 piece of felt in matching or contrasting color
Matching or neutral thread

And that's it!

For my example here, I used a fun gold colored jersey, and a dark teal piece of felt.


Trace a heart on the felt. I had a heart shaped cookie cutter that worked great, but a paper pattern or freehanding it would work just as well.


After cutting out the heart, place in the middle of the piece of jersey, so it will be away from any seams. I appliqued the heart on by using the zig-zag stitch on my sewing machine in a matching thread and just worked my way around the edge.


There are a million and one infinity scarf tutorials out on the internet, but it's insanely easy to do. Fold your rectangle of fabric right sides together (with the heart applique on the inside), then sew the long edge together. Pin the raw edges of the short ends together, making sure you leave about six inches open so you can turn the scarf right side out. Sew the unfinished edges together except for your six inch gap, then turn the scarf back out. Sew the gap together (it's okay if the last part isn't perfect, since the scarf is made to be scrunched up and folded around) and voila! You're all done!


I also included a custom tin of tea from Adagio Teas in each package. They're really fun because you can find teas from a ton of different fandoms, and the small ones are only $10 each! Just search for the kind you want.

221Brew Tea:  Jane Austen Tea:
 Dragon's Dream Tea:  Felix Felicis Tea:  

Plus, no Galentine's gift would be complete without a card featuring one of Leslie's many odd but heartfelt compliments.

 
Lesley Knope reads a love letter to her friend Anne, "You are such a good friend, you are a beautiful, talented, brilliant, powerful musk ox."

So go on out there and have an amazing Galentine's Day by letting your lady friends know how much you love them! If you need any more inspiration, feel free to follow my Galentine's Day Pinterest Board here, or just click below!

Wednesday, January 13, 2016

Game of Thrones Crochet Plushies Pattern Review and Tips


When we found out that some very dear friends of ours were having a baby, we were overjoyed. I knew that they both loved Game of Thrones (in fact, the dad commissioned the Petyr Baelish costume I made for Halloween last year!), and wanted to do something special for their baby boy.

But how to make a Game of Thrones themed gift that was kid-friendly?

Plushies!

I found this pattern online and thought it was perfect. They're animals representing each of the four main houses in Game of Thrones, but still very cuddleable! I even came up with adorable names for each of them (pattern link included):

Snuffy Stark (pattern for $3.75)
Buckley Baratheon (pattern for $3.25)
Lionel Lannister (pattern for $4.00)
Toothy Targaryen (pattern for $4.00)

You can also buy all four patterns for $10, which I think is a great deal.

As I worked on each one, I tweaked different aspects to customize them a little. In general, I wanted them to look a lot less serious, and much more happy. This is easily accomplished by leaving off the eyebrows.

 
 See how friendly he looks now?

Snuffy Stark (the direwolf sigil of the Stark family) was pretty much done exactly to the pattern's instructions. My main modifications were leaving off his eyebrows and turning up his mouth into a smile.


Toothy Targaryen was also done very close to the pattern's instructions. The only difference here is that I didn't have enough room on his belly for three stripes, so I settled for two. I liked him better without the grim mouth, so I left that out, as well as not adding the eyebrows.


Buckley Baratheon had a few major changes. The first was to his ears. If you look at the original design, they're tube-shaped. I wanted mine to look more like actual deer ears, so I did research into other reindeer patterns to see how they created their ears. I decided to use the instructions from Rudy the Reindeer by Tales of Twisted Fibers, and I really liked the way they came out. 

Rudy, the reindeerRudy, the reindeer

I also used a combination of their instructions and the original Game of Thrones pattern to create the tail, which I wanted to have more of a point at the end. I attached the tail to the body in a circle, rather than making the end flat and sewing it in a straight line. I also free-handed a white section to go underneath the tail, for an extra detail.


Lionel Lannister, my own personal favorite (he's so soft and cuddly!), is the one who got the biggest overhaul. I covered the top third of his nose with a matching brown, made the nose bigger, left off the mouth, ears, eyebrows, and white eye circles. I personally thought the mane looked more like a hood than a lion's mane, I did research into other patterns until I found a mane and tail from Little lion amigurumi by beacrafter that I really liked.

Little lion amigurumi crochet pattern - Maz Kwok's Designs:   
Aren't they adorable?! Look at that fluffy tail!

She uses a particular technique called a 'loop stitch' that creates that long half circle attached to a stabilizing stitch. The youtube video demonstrating it can be found here. I used this to created both the tail and the mane. I used beacrafter's instructions for the tail, but freehanded my own version for the mane. I basically created a rectangle that went around the top of the head, sewing it on to the head piece before attaching the head to the body. I don't remember the exact measurements, but it was about six or eight stitches wide, and then I just kept measuring it against the head until it was as long as it needed to be. I actually thought he looked adorable without ears, but feel free to add your own if you like!

That's all for now! I do recommend this pattern, especially for any Game of Thrones fans in your life, or just for yourself!

Lionel looks a little different here for some reason...

The finished products!