
So, this jacket was inspired by the amazing work of citizenkaneV on Deviantart, also known as Steven J. Connell, pictured below.
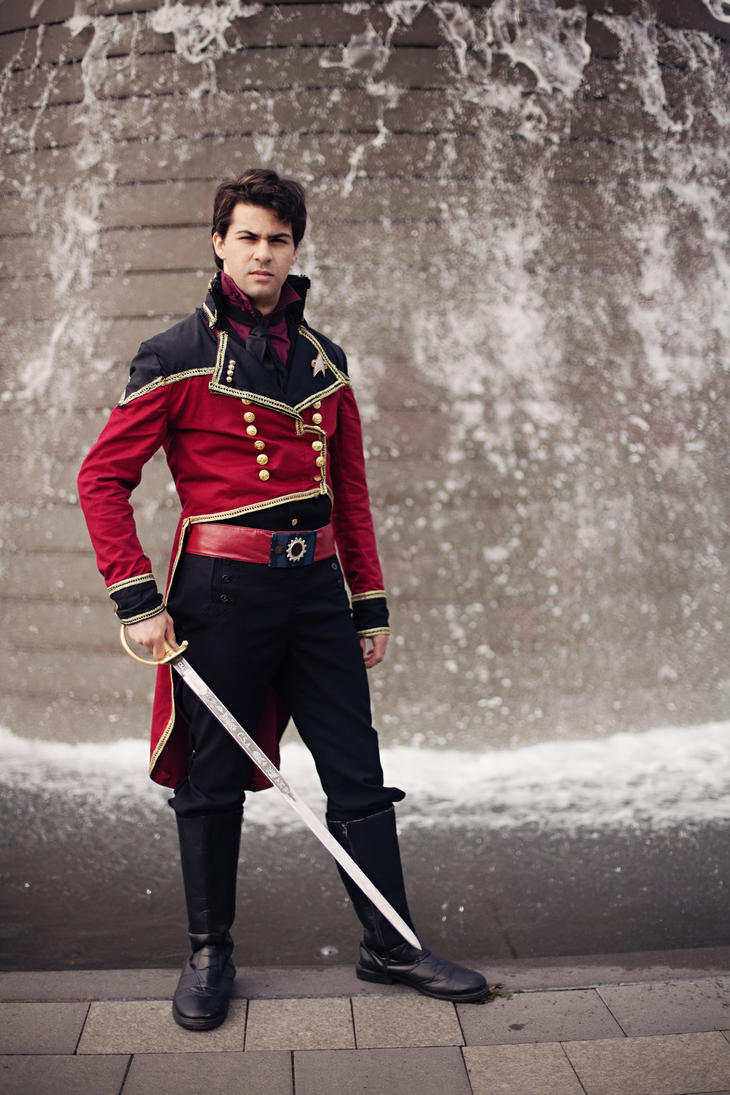
Look how inspiring he is!
Jim was hesitant to come to AnomalyCon with me, but when I told him he could go as a steampunk version of Commander William Riker from Star Trek: The Next Generation, in this jacket, he suddenly became very agreeable.

C'mon, how you not want to be this guy? He exudes cool.
So I contacted Steven and asked him how he made such an awesome jacket. He kindly told me that he used a combination of Simplicity 2333 and Butterick 3648 (which is currently out of print) to make his jacket. I only used Simplicity 2333, but it still turned out just fine.
This was a big learning experience for me, and since I wanted it to look right, I decided to make a muslin. A muslin is the fancy term for a practice project, traditionally made out of muslin, but I made mine out of a large bedsheet from my local thrift store. This way I knew how to sew everything together, and what the end result would look like.

I labeled each piece, so I would know which pattern pieces I would need to change, and made notes where needed. For instance, I ended up not using pattern piece #9, which is the two front bottom panels. I also wanted a muslin so I could figure out how to cut pieces for the yoke.

The 'yoke' refers to a garment piece that sits on the shoulders and around the neck. For the Star Trek TNG uniform, it's the black top part. For the amount of die-hard Trekkies out there, it is incredibly hard to find what the exact measurements of the yoke are. After much searching, I came up with 5" from the back of the neck down, and then 4.5" from the shoulder seam onto the sleeve.

After trying it on Jim, I decided to go with 5.5" on the front. I took all the pieces apart and cut along the line I drew. Since I knew the likelihood of me forgetting that there was no seam allowance on the parts I cut, I taped a 5/8" piece to the yoke patterns.


It's like fabric tetris!
In order to keep the fabric from wrinkling, I sewed using a 3/8ths seam allowance in one way, and then 5/8ths the other.

After sewing the pieces together, I ironed it out and attached the facing, which helped smooth out the remaining wrinkles.

The interesting part was trying to get the lines to match up just right. I knew I'd be covering it with a braided trim later, but it was the principle of thing, darn it!

After sewing the front and back together, I made the collar, and added the black braid about a 1/8th from the edge, and then attached it to the neck piece.

Then came the interesting part. Sleeves. *DUN DUN DUNNNNN*

I decided to topstitch the sleeve yoke on, that way I could adjust it if it didn't fit perfectly. And what do you know, it didn't.

After trying several methods, the most effective one seemed to be basting (sewing with the longest stitch) the sleeve first, then pin on the triangle. Once the edges are lined up to satisfaction, I seam ripped the top of the sleeve, topstitched the yoke, then reattached the sleeve.


Now that the sleeves had been conquered, I added the front facing of black wool to the lining, and took it one step closer to completion!


Once the lining was in, I added black braid to the folded back edges in the front, then started working on the cuffs. I had done quite a bit of research into what jackets commanders in the Royal Navy wore around the 1850's, mostly by visiting the Royal Maritime Museum website.
Uniform of a Sub-Lieutenant from 1861 on Left, 1867 Commander's Uniform on Right.
If you notice from above, the double row of buttons was standard, and the type of button, along with the number of stripes on the cuff, denoted rank. I unfortunately didn't have time to add the strips on Jim's cuffs, but that's a project for the future.
Just you wait... I will add your stripes, see if I don't!
One thing I did make sure to do was use period-accurate buttons. Different officers used different buttons depending on rank and what military they belonged to. The Royal Navy Captain and Commander's button was a fouled anchor (anchor with a rope going through it) with a crown above it.
After some thorough searches, I found some on eBay for a fair price. There were 24 of them, which worked out well, since I wasn't sure how many I was going to use in the double row in front (I guessed between 5 and 8), plus I needed two buttons for above the coat tails, and two more for the collar. I was also thinking of adding three to each cuff, but they looked better without. I might add them on later as well.
If I had to do it over again, I would have added several more inches to the front bodice. I only had about a five inch overlap, and thus could only space my buttons about 3 inches apart.
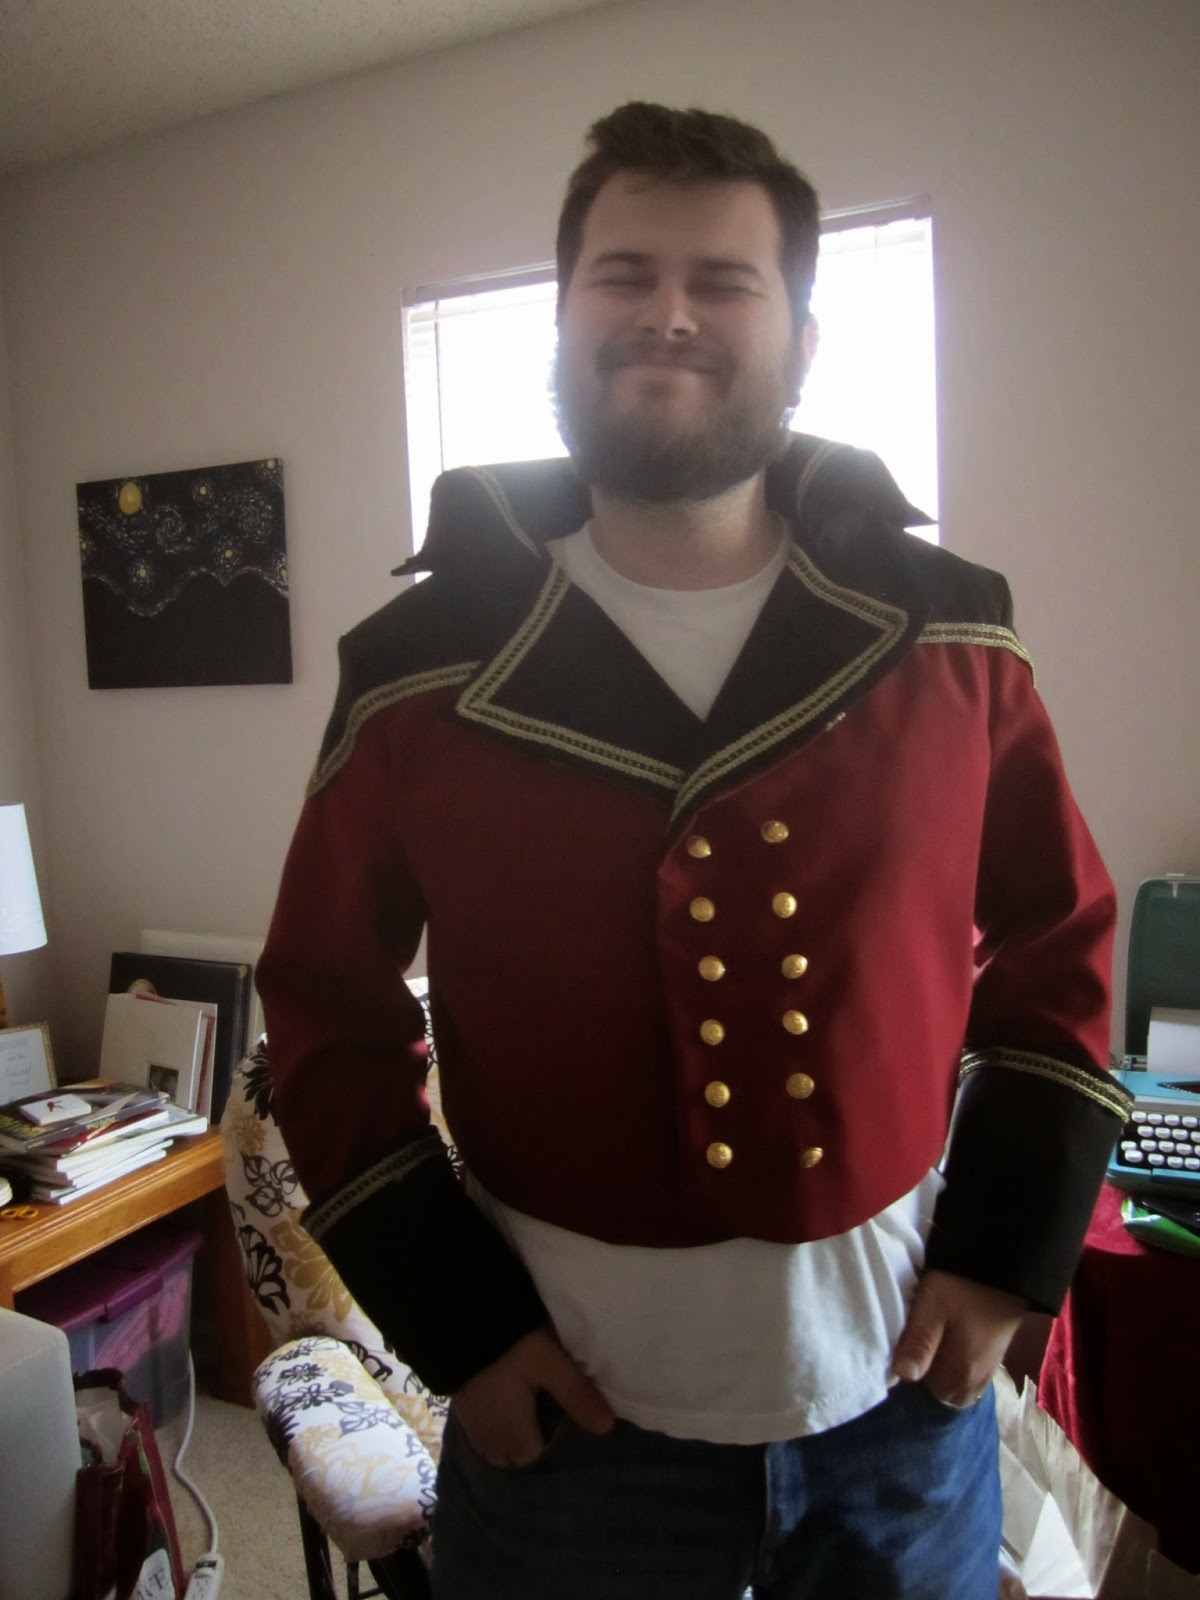
Jim looked pretty pleased, though.


After sewing on the buttons to the collar and the tails, we placed the Star Trek command pips and communicator. and we were all finished!
Don't we make such an adorkable couple?
We had a great time at AnomalyCon, and Jim won second place in the Division 2 of the Costume Contest! Yay!
Thanks for reading, and if you have any comments or questions, feel free to comment below!
Thanks for reading, and if you have any comments or questions, feel free to comment below!
Outstanding! Very useful! I'm doing something similar for a Nemesis / Privateer / Sailpunk vest
ReplyDeleteBest of luck! If you don't mind, ping us back with photos/links when you finish! We'd love to see the work.
DeleteWow! That looks amazing! I'm trying my hand at this as well--I've never used a pattern before (that wasn't my own) and the instructions are really confusing (@_@) Wish me luck haha!
ReplyDelete