So this is the outside of the cape, sewn together minus hood.
Speaking of the hood, here it minus the comfy lining.
Then, after lining the hood with fleece, cutting the fleece patterns, sewing them together, and pinning the lining to the cloak inside out, sewing everything and pulling it right side out through a hole in the lining, I learned how to slip stitch so I could hide said hole. Once all that was done, I had a finished cape!
(I'm ignoring the puckering on the edge and hoping I can iron it out. If not... I'll say that it's just well used.)
It's lined with fleece, since the Hobbit comes out December 14, which calls for very snowy and freezing weather.
It even has a lined hood!
My current dilemma lies with how to close it. I could:
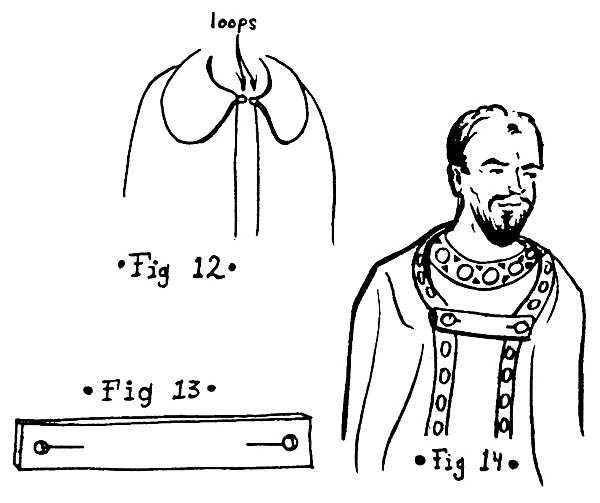
A. Sew buttons to both sides and make a flat piece of fabric with two buttonholes to hold it together

B. Sew one button on the right side (since it's Jim's cape and men's garments button from the right side, extending from the days when men dressed themselves, and women had servants to button buttons, thus changing the point of view of the buttons. Just in case you wanted to know.), then sew a leather loop on the other that the button will fit into.
Like so:
Thing is, I'm not sure how I get the curly bit to stay. Sew straight through the side?
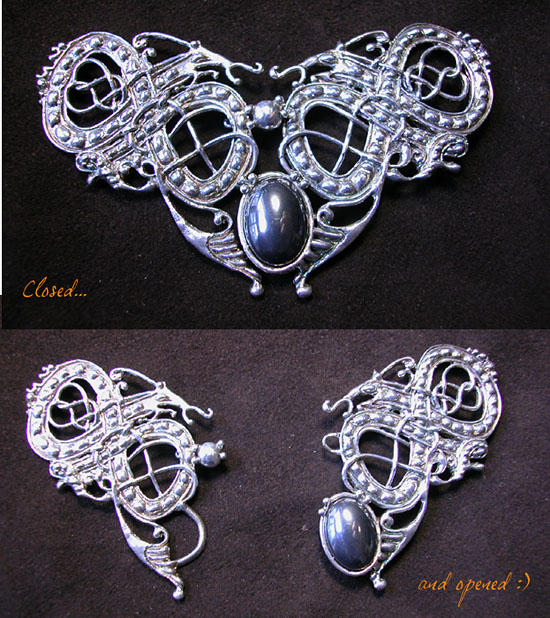
C. Buy a cloak clasp online. These range from simple:
to medium fancy

to very very fancy

(Link here)
But if I want a pretty functional one, I need lots of money. So! Until I'm rich, my other options will have to do.
Still to do:
- Buy more lining so I can make my own cloak.
- Figure out button loop/ clasp/ closure thing.
- Work on my hobbit costume! More on that once the cloaks are done.
- Find a way to stop the fleece from shocking me every five seconds. Stupid dry air.
Thanks for tuning it!


No comments:
Post a Comment
Note: Only a member of this blog may post a comment.