Pages

Monday, February 11, 2013

It's Alive! Or How to Make a Frankenshirt!

Hello Everyone! Today I'm going to show you how to...


Turn two okay shirts into one awesome shirt!
(Or as I like to call it, How to Make a Frankenshirt!)

So, I've been looking for a cool ruffled shirt for a while for a Victorian costume, but haven't had much luck. I found lots of plain white shirts, but no shirt of my dreams. I eventually found the perfect one - except it was one of those strange shirt-attached-to-sweater-vest things. Well, I did what any person with two shirts and a sewing machine would do - I improvised!

Exhibit A: Uninspiring plain shirt on the left, and fun ruffle-y front section of a shirt with a maroon sweater vest attached on the right.


First things first - turn the sweater vest thing inside out...


And start seam ripping!


Once detached, it took me a while to figure out how I wanted to put this all together. I turned both of them inside out and laid the ruffled collar over the top of the shirt.


I made sure to match both the seam lines on the collar and the shoulder so that the new collar would fit right.
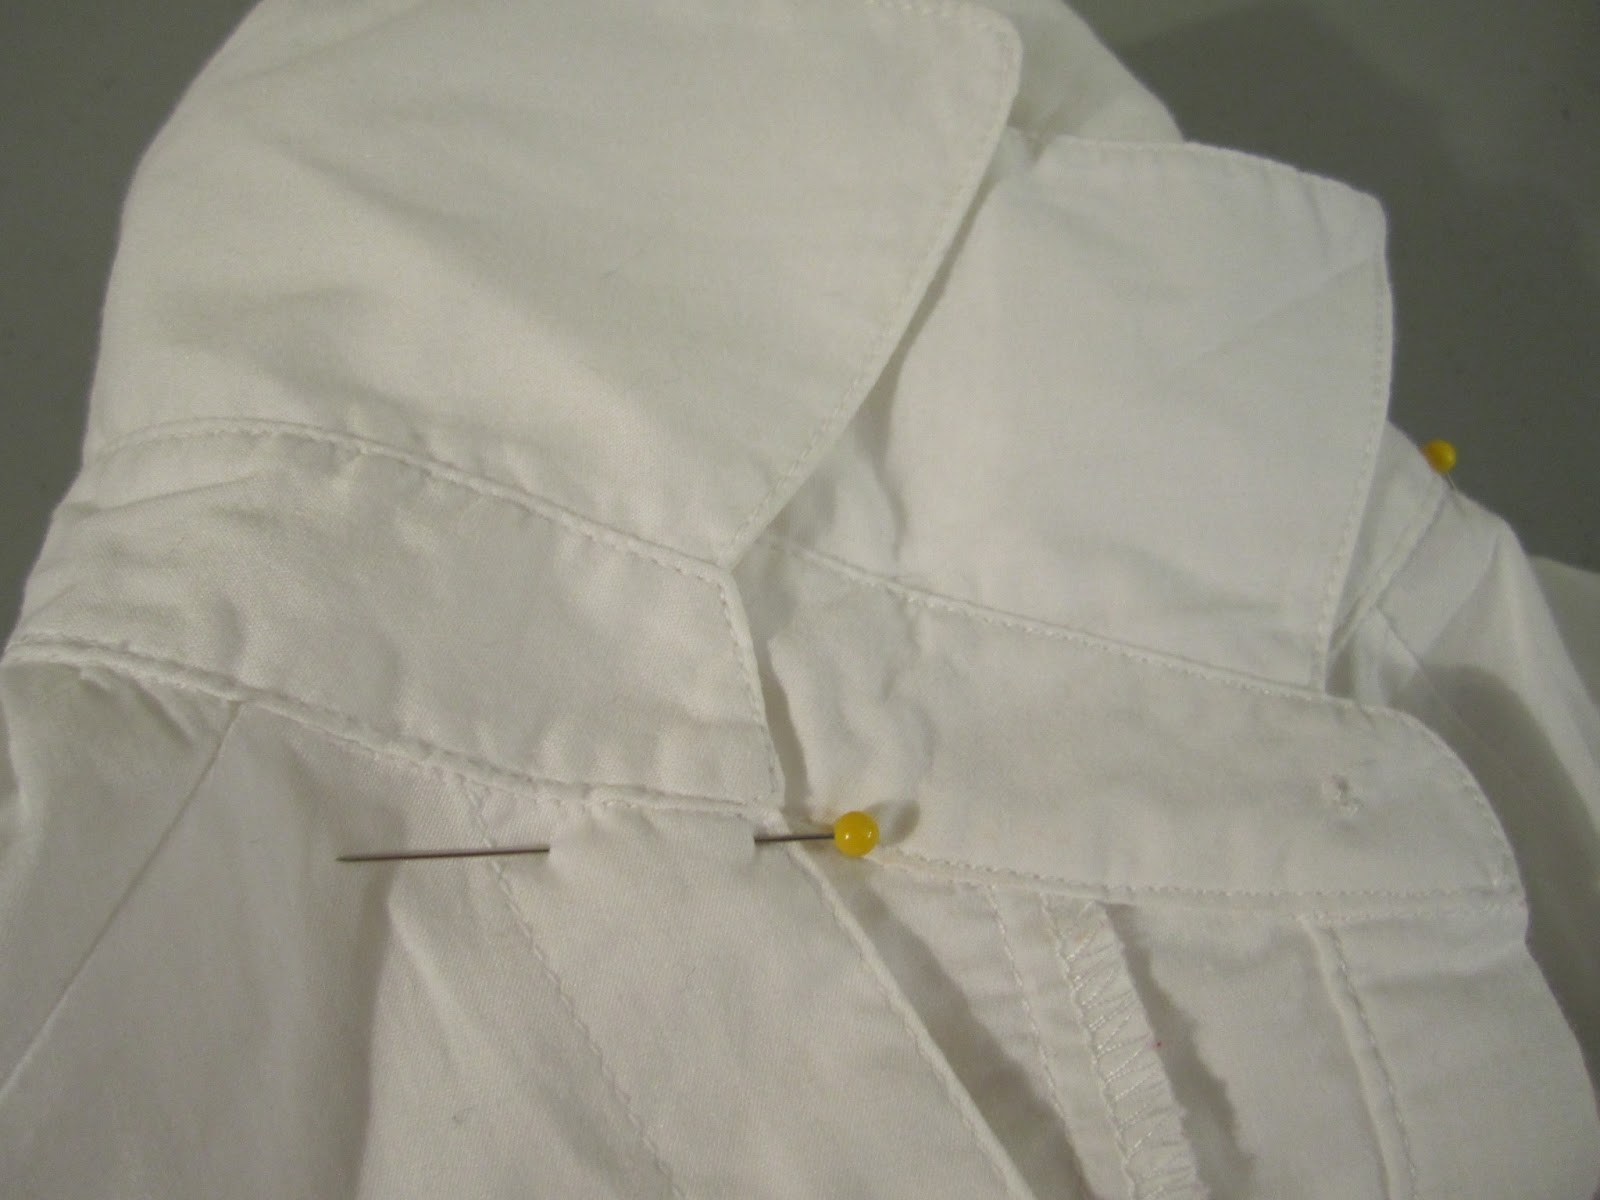


After pinning the whole thing down, I marked around the edge with blue chalk and cut just inside the mark, with about 1/4" allowance.


I also did my best to match up the edges of the shirt so that the buttons and buttonholes would still fit.


I laid the collar over the cut shirt, pinned them together, then started sewing them together.


I also ended up with some extra fabric in the back and realized what those little tucks in the back of dress shirts are for. 

A little folding and ironing...


Some pinning...


And voila! A professional looking tuck in the back, with no one the wiser that I misjudged the amount of fabric.


Now, today, we are going to join me on the adventure of discovering the Button Hole setting on your sewing machine!  (AKA, Me suddenly realizing what the BH stood for)


I picked out a few pretty buttons to replace the odd ruby looking ones that matched the sweater vest.


I lined up and marked where I wanted my new buttonhole to be by running my chalk pen inside the existing hole.


Then I prepared to switch out my regular foot for my buttonhole foot, which came with my machine.


To swap them out, I used the small red button on the back of the arm, which drops the presser foot.


I lined up the new foot underneath...


Then I lowered the lever so that the new foot would snap into place. 


The buttonhole foot comes with handy red marks to measure how long you'd like your buttonhole to be.


Setting number 1 sews in a tight zig zag down the left hand side of the buttonhole.


I lined it up with my blue mark from earlier and got sewing. The beauty of the buttonhole foot is that it the foot moves with you. Since the original buttonholes were two marks long, I sewed until the arrow pointed at the bottom mark.


Settings 2 and 4 make longer horizontal stitches for the top and bottom. 


I used number 2 to finish my bottom stitch.


Setting number 3 sews zigzags up the right side.


You should have something that looks like this.


Setting number 4 finishes off the top.


The top is one of the original holes, and the bottom one is mine! No difference, right?


With some careful seam ripping in between the lines, you now have a brand new buttonhole!


I also used some foxy buttons I had around and exchanged them for the plain white buttons that were on the sleeves.


And when everything is said and done, I had a beautiful ruffled shirt with pretty buttons!


Modeled here by my lovely $3 yard sale dress form, Jane Grey.


Well, that's all for now! Feel free to leave any questions below, and thanks for reading!

Sunday, December 30, 2012

Dwarf Costume Tutorial

So the time has come! The Hobbit is here! 
Let all nerds rejoice and cheer!
There are more reasons to read, and let your geekiness show!
And if you want to make a Dwarf costume, I'll help make it so!

Well, now that my rhyming is done, I'll show you how I put together Jim's dwarf costume that he wore to the Hobbit midnight premiere! (By the way, if you were wondering, it was AMAZING!! I'm slightly biased, but still - I loved it.)

First, I have to credit Pinterest for helping me keep track of everything. My board for these costumes can be found here, where I kept all of the resources I knew I'd be needing.

Dwarven Chainmaille:
(No fowarding before midnight for luck required)
I was very inspired by this tutorial for chainmaille from soda tabs, posted by quixotiCfluX on instructables.com. He takes you through the process step by step with great pictures.

Here is what you will need:


So, to start, you'll need soda tabs. Lots and lots and lots of soda tabs.
I started a bowl of them early on, and asked all my friends to contribute, while scavenging as much as I could. You'll also want a staple remover in order to bend the tabs so they all fit nicely together. Then a wire cutter, to cut the top part of the soda tab so you can weave them together.


Stick the tab in the staple remover and push down on it, so it bends in the middle.


This helps them lay next to each other and to connect neatly together.


Then, use your wire cutter to snip the middle bit of the top, and slide the top of one tab into a side of the bottom hole. Then keep adding until you start to get shapes to them.


I knew I wanted to have chainmaille along Jim's arms, so I measured around his arm and left a few inches gap along the opposite side of the sleeve so it would stretch a bit.


After a while of watching MythBusters and working at it, I had a pretty good amount done!


I'm sure the kittens thought they were helping.


 I knew that I wanted it to cover half his hand and go around his thumb, so I made thumb holes!


After some consideration, I realized that I wanted some on his hand, and some on his upper arm. So I split them in half, and using the sleeves from a long thrift store t-shirt (cutting thumb-holes in them as well), I taped them into place in order to sew them on. I hand stitched with black thread, and peeled away the tape as I made my way around.


Sewing around the wrist was a little more complicated, as I need to shape it to his hand, so he had to wear it while I sewed. I was very careful and only stabbed him a few times - no matter what he says.


The best way to make sure the tabs stayed attached to the sleeve was to bring the needle up right next to the edge, then bridge the gap with the needle and go back down right next to the other edge.


Leather Bracer:
A 'bracer' is basically an arm-guard, and with all the leather scraps I picked up at a thrift store for $5, I knew I could easily whip up two of them. I thought about embossing them with celtic designs, but that required far more skill than I had, so I left them plain.

I cut out the shapes that I wanted, then marked where I wanted the eyelets for the laces.


Then I used my awesome leather hole puncher to poke holes where marked...


Placed the eyelets in the holes...


And since I didn't want to buy the $25 kit that opens up the eyelets for you, I improvised with some needlenose pliers to flatten them out.


Once all the eyelets were secured, it looked pretty darn good, if I do say so myself.


Tunic:
Now after staring at the Hobbit production photos for hours, it still didn't help me figure out what kind of tunic would be appropriately dwarf-like and still in my budget. Then I realized that Viking outfits are fairly similar to dwarven ones and made a tunic based on traditional Viking clothes.

First, I bought a large black sweater from a thrift store and turned it inside out to make markings on it. (Have I mentioned how much I love thrift stores? Visit many and visit often, and you'll find all kinds of amazing things.)


I tried it on Jim, then made marks a bit below where I wanted the sleeves to end. Then I chopped off the sleeves about halfway down.


I chopped off the neckline and made an outline of what I wanted the neck to be.


I found some awesome ribbon trim for cheap online, and used it on the edges.


First I hemmed the neck and sleeves to avoid fraying.


Then I used silver thread on the top and bottom borders in order to invisibly attach it.


Now that my tunic was finished and my chainmaille sewn on, I attached the t-shirt sleeves to the inside of the sweater to make one whole shirt.


I sewed the sleeves on with black thread, right above the ribbon in order to be as unobtrusive as possible.


When the whole thing was assembled, it looked something like this:


I also bought a huge bag of leather strings from the Hobby Lobby for $5, so I dug through until I found some that fit.


And with the finished costume, I think it looked pretty authentic.


Add the $3 plastic Halloween axe (also from a thrift store) that I blessed with dwarven runes in silver Sharpie...

(what, like you didn't learn Angerthas in high school because you were geeky and bored?)


And I think he looks like a great dwarf. 


The cloak and beard added to the effect as well. (He enjoyed growing out his beard far too much)


And here we are at the night of the premiere!


Well, hope that helps you with your own dwarf costume, and happy Hobbiting everyone!